 |
 |
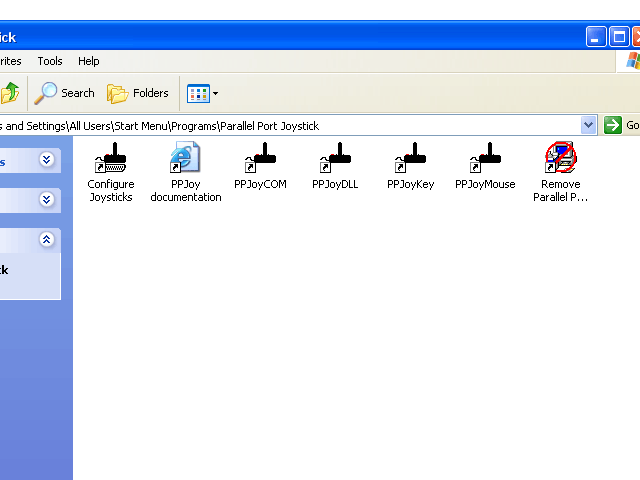
| 1. After
unpacking PPJoySetup.zip run setup.exe (just
click "next" in each dialogue). After
installation is finished you will see a
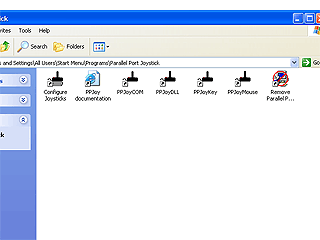
window with shortcuts to the program [1] |
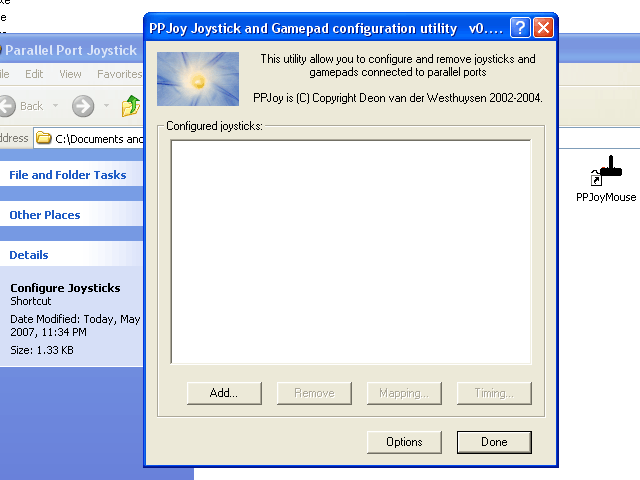
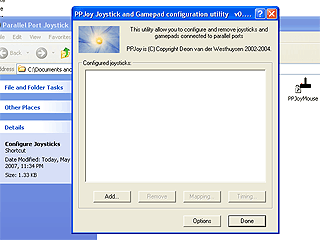
2. Click "configure
joysticks" shortcut any you'll see a new
window [2]. Click "add" button and in the
new window in "parallel port" field from
drop-down menu select "virtual joysticks". |
| |
|
 |
 |
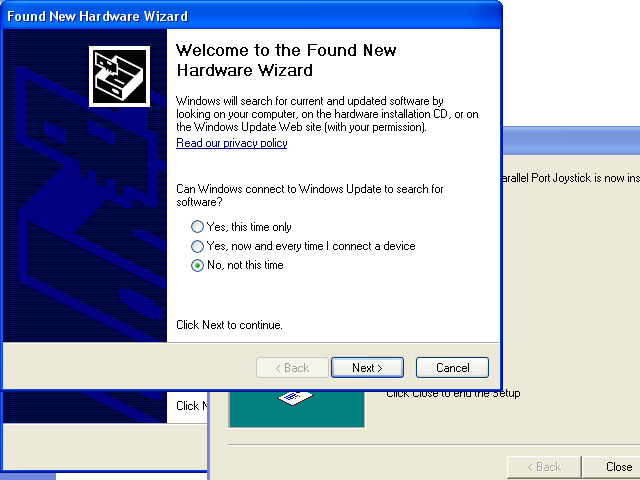
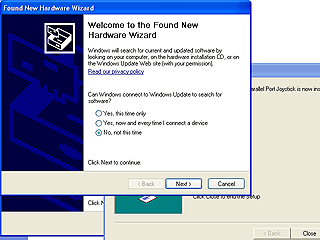
| 3. Click "add"
and Windows will pop up wizard for
installing new hardware [3] Select "no, not
this time". Click "next", then "install the
software automatically". |
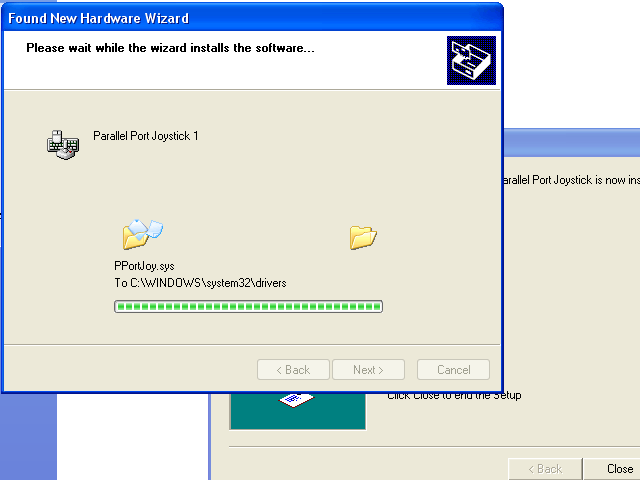
4. [4] After installation
of new hardware is finished, the same window
will pop up again asking to install a game
controller. Repeat the same steps for it. |
| |
|
 |
 |
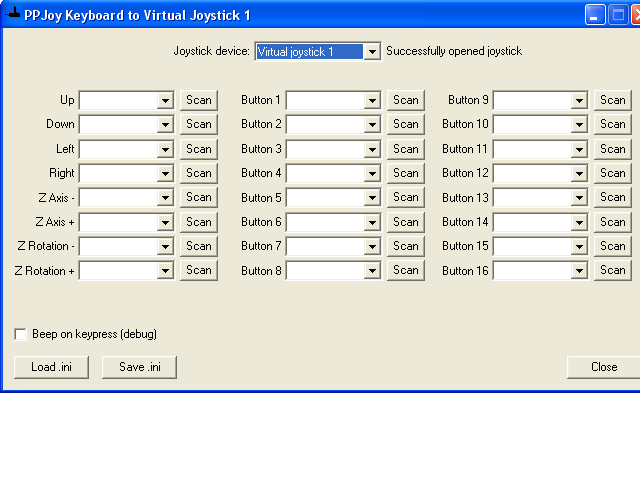
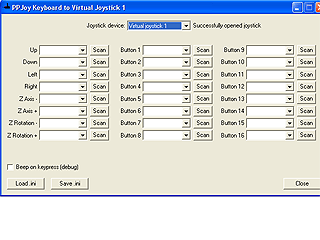
| 5. After
installation is finished Windows will give
you a message about it. In the shortcuts
window [1] click "PPJoyKey" shortcut. You
will see a window for defining keys as
joystick buttons [5] |
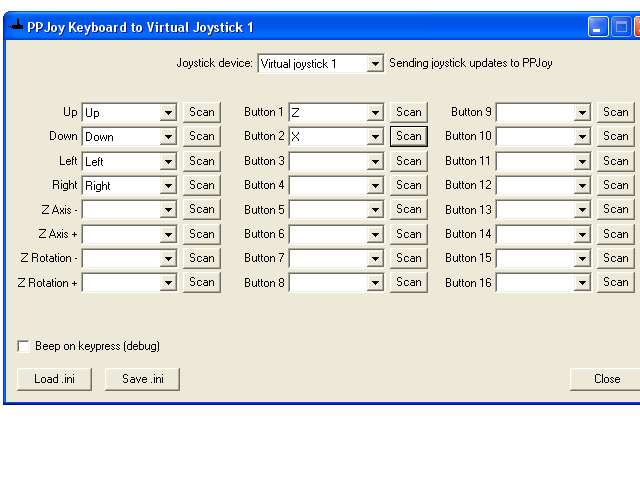
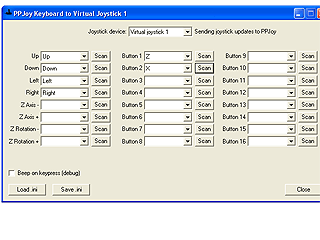
6. Click "scan" buttons
with mouse left button and you'll see a
pop-up window with text "press key to use as
this control". Define buttons for UP, DOWN,
LEFT, RIGHT, BUTTON1 and BUTTON2 [6] |
| |
|
| 7. Don't close
PPJoyKey window and start XM6 emulator. |
|